
So, Bike to Work day! May 16! That's like, 2 months ago! Hilariously or ironically, as it fell on a Friday I was actually off work and thus had no reason to bike to work. But there was a bunch of stuff happening around town , so I secured myself a gentleman escort and decided to pub-crawl the free beer available around town. First stop, Ozone bikes. There was free beer, pizza, and schwag - that's about all I needed to hear.
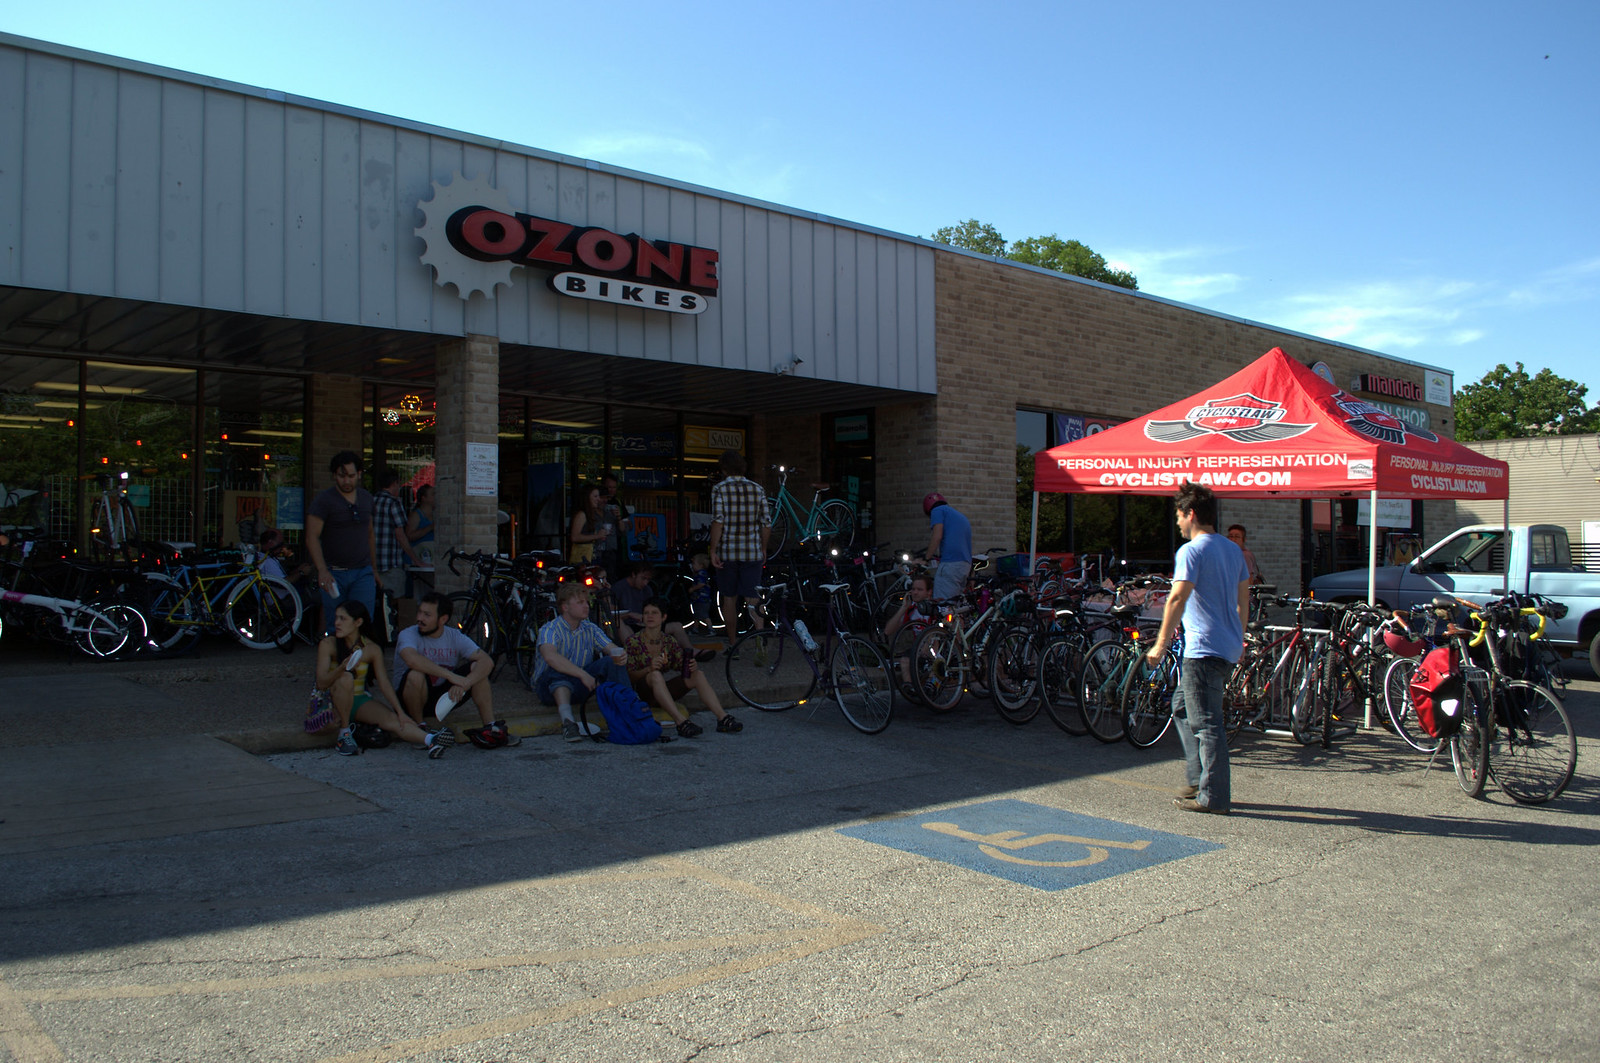
One of the brilliant things about Austin is we have an awesomely tight-knit community of cycling activists - I can't go to a bike event without running into a few folks I know. Even if not by name, at least by their face or their bike. It means that everywhere feels like home.

We chilled at Ozone for a bit and with the sun at our backs rode south down Guadalupe towards Bicycle Sport Shop. Why, might you ask? The answer should be obvious - more free beer.

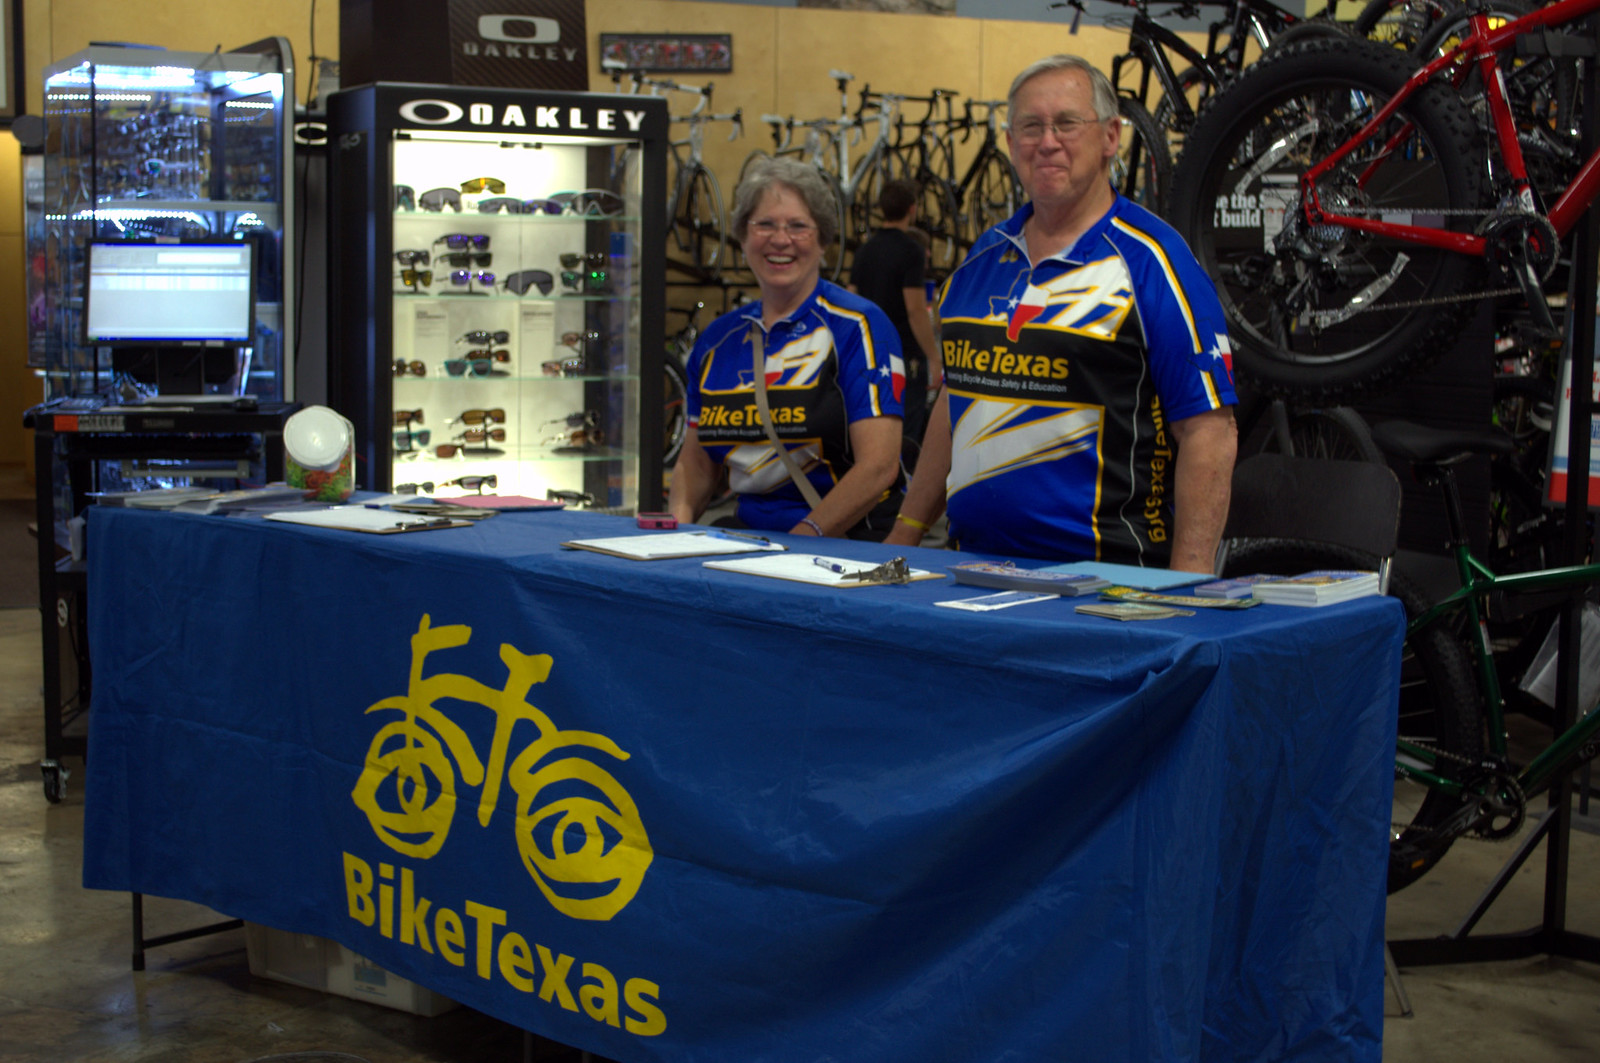
Several of our fabulous local bike groups were our in force - BikeAustin (pictured above) and BikeTexas (pictured below).
A few friends showed up out of nowhere and together we had....you guessed it. More beer.

My Bike to Work Day.....did not include a hell of a lot of work. It was also 2 months ago and I should have posted about it way before now. But it sure as hell was a good time.


